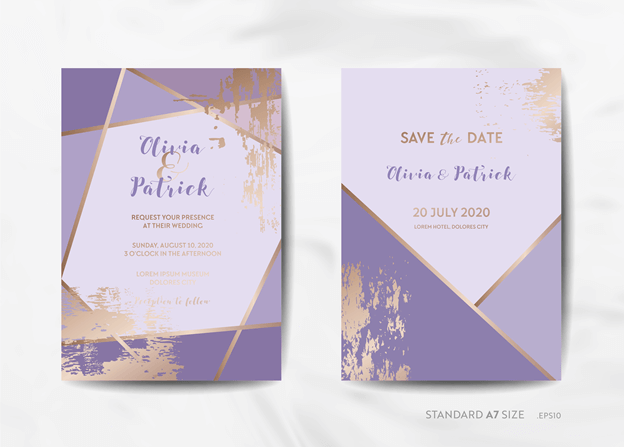

Planning a wedding is expensive. Whether you are hosting a small, intimate gathering or you are throwing a huge bridal blowout and inviting all of your friends and family to attend, it usually costs quite a bit of money. One easy way to save big, though, is printing your own save the date cards and wedding invitations.
While hand-lettered and letterpress invitations and cards are undeniably beautiful, they are also extremely expensive. If you go this route, you can easily spend more than $1000 just letting people know about your big day and inviting them to it. Yikes! By printing them yourself, however, you can save a fortune.
You can print your own invites and cards using just about any inkjet printer. Even low-end printers produce exceptional quality these days, so there is no need to run out and buy a fancy printer. You will just need a design, some high-quality paper, and new printer ink cartridges to create beautiful invitations and cards that look just as good as the ones you could order from a professional printer.
Choose the Right Paper
You have a couple of different options when it comes to the paper you use for your cards and invites. If you are an absolute beginner and are trying to get the job done as quickly as possible, your best bet is to buy a kit. Your local craft store should have a selection of printable wedding invitations and save the date cards, or you can order them online. If you buy one of these kits, it will include detailed instructions and information regarding what template to use to create your design.
If you want to really do it yourself, though, you can choose paper on your own. There are dozens of different types to choose from, and it’s important to choose something that is appropriate for your intended application. For that heavyweight feel that is associated with wedding invitations, look for paper with a weight of no less than 80 pounds or 12-point stock.
When printing with dye-based ink, look for paper with a coating, such as gloss, matte, semi-gloss, resin, or polymer. The coating soaks up the ink and helps keep it from bleeding. For invitations and save the date cards that will include photographs, use photo paper.
If your printer uses pigment ink, feel free to use textured paper like linen or cotton rag. When shopping for paper, it is best to visit a stationery store in person. It is much easier to make a good decision when you are able to see and feel the different types of paper rather than trying to decide from an online photograph.
Make sure you buy more paper, cards, or invitations than you need. When you design and print them yourself, you need to account for test prints, mistakes, etc. It is always better to buy more than you need than to risk not having enough and being unable to find more.
Keep a Few Important Design Considerations in Mind
When you are designing your save the date cards or wedding invitations, keep in mind that what you see on your screen doesn’t always print out looking the exact same way. Modern screens do a pretty good job of replicating colors, but there is still a chance that the color on your screen won’t match your printer’s output. To help avoid this all-too-common issue, make sure your screen is calibrated and color-balanced before you print.
Also, include bleeds with anything you plan on printing. In simple terms, a “bleed” is simply a part of your image or design that intentionally “bleeds” beyond the trim edge. This helps prevent unwanted white space on your finished product. Designing with bleeds also makes it significantly easier to cut out your invitations.
Make sure you are creating a high-resolution design. The higher your resolution, the more clearly it will print out on paper. A design with a resolution of 70 dpi may look fine on your computer, but it will likely look grainy when printed out. For best results, make sure your design is around 300 dpi.
Adjust Your Printer Settings
 No matter what type of printer you have, the print dialog most likely has several different settings that you can change. You can probably adjust a few things in the print window, but you may need to go into “advanced settings” to make further changes.
Make sure your printer is set for the type of paper you are using. It may seem insignificant, but selecting what type of paper you are using can have a huge impact on the final output. When you tell your printer what type of paper you are using, it is able to adjust how it prints to ensure maximum quality. If you are using glossy paper, for example, it will adjust its technique to help prevent smearing on the smooth surface.
Pay attention to your resolution and quality settings, too. Printers commonly default to printing at lower resolutions to cut down on print time and conserve ink. Even if your original design is 300 dpi, your printer may print it at a much lower resolution. Make sure you set your printer to print at maximum quality to ensure the best possible results.
In Conclusion
Printing your own save the date cards and wedding invitations is a great way to save yourself money. You can get the job done using just about any type of inkjet printer, though you may want to invest in a photo printer if you plan on printing pictures on your cards/invites.
Once you’ve printed your cards and invitations, use a paper cutter to ensure straight cuts and make them look more professional. Cut each one individually to ensure that you get the results you want for every single guest. Take your time and, with a little patience, you can make your own save the date cards and wedding invitations that look just as good as the ones from the pros!